
Studio Sound vs. Remote Audio: Clarity Secrets Revealed
Unlock pristine audio! Studio acoustics vs remote hacks: Gear, tips to minimize noise & maximize clarity for stellar recordings.
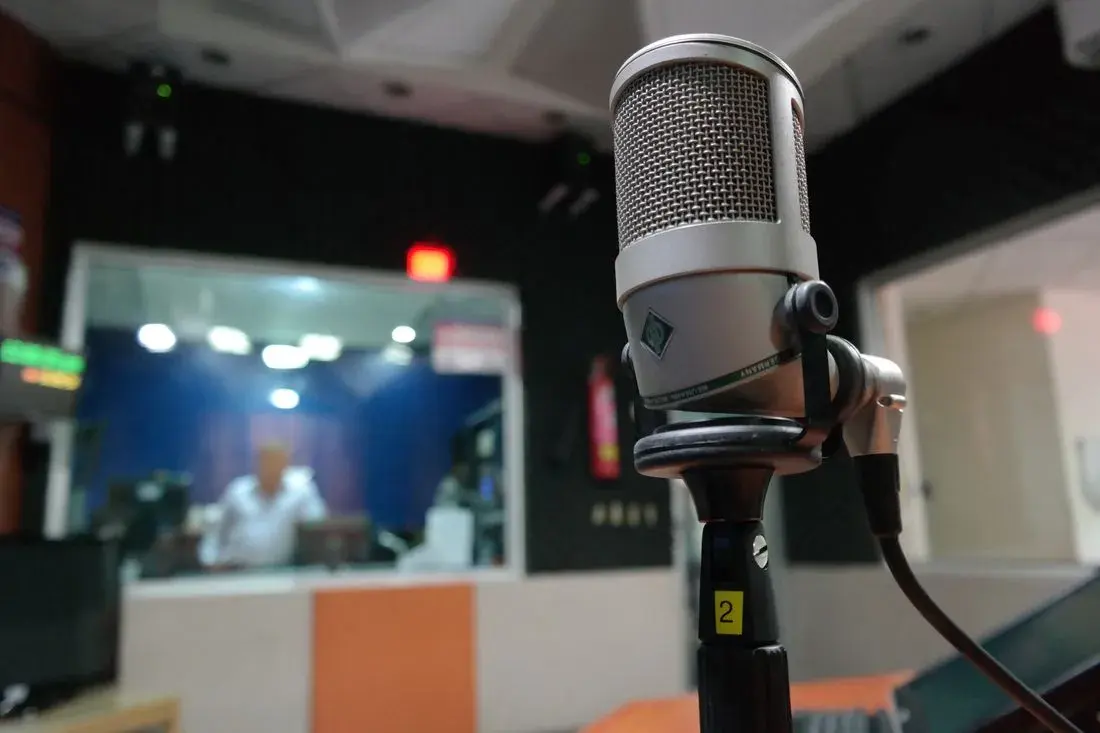
In the dynamic world of podcasting, sound quality reigns supreme. Whether you’re aiming for a polished, professional broadcast or a more intimate, conversational feel, the clarity and richness of your audio are critical for engaging listeners and building a loyal audience. This article dives deep into the technical aspects of sound quality in podcasting, comparing the controlled environment of an in-person studio with the challenges, and solutions, of remote recording.
The Gold Standard: In-Person Podcast Studios
In-person studios offer an unparalleled level of control over the recording environment. They are purpose-built to minimize noise and maximize clarity, resulting in a consistently high-quality audio experience. But what makes a studio so effective?
Acoustic Treatment: The Foundation of Studio Sound
The primary advantage of a professional studio lies in its acoustic treatment. This includes:
- Sound Absorption: Materials like acoustic panels, bass traps, and diffusers absorb sound waves, preventing them from bouncing around the room and creating unwanted echoes and reverberation.
- Sound Isolation: Thick walls, sealed windows, and specialized doors minimize external noise from entering the studio.
Real-World Scenario: I once worked with a client who was initially skeptical about investing in acoustic treatment for their studio. They thought a few foam panels would suffice. However, after conducting A/B tests with and without proper treatment (using REW – Room EQ Wizard – to measure the RT60 reverberation time), they were astounded by the difference. The treated studio produced recordings with noticeably cleaner sound and reduced background noise, drastically improving the listener experience and perceived professionalism. This investment directly translated into higher download numbers and positive listener feedback.
Microphone Selection and Placement
Studios typically utilize high-quality microphones designed for vocal recording, such as:
- Condenser Microphones: Known for their sensitivity and ability to capture subtle nuances in sound.
- Dynamic Microphones: More robust and less sensitive, ideal for recording louder voices or in less-than-perfect acoustic environments.
Proper microphone placement is also crucial. Experiment with different distances and angles to find the “sweet spot” that captures the most natural and balanced sound. Pop filters and shock mounts further reduce unwanted plosives (bursts of air from “p” and “b” sounds) and vibrations.
Example: A common mistake I see podcasters make is placing the microphone directly in front of their mouth. While seemingly intuitive, this can lead to excessive plosives and a harsh sound. Instead, try positioning the microphone slightly off-axis (to the side of your mouth) to minimize these issues.
Mixing and Mastering: Polishing the Final Product
Once the recording is complete, the audio undergoes a mixing and mastering process. This involves:
- Noise Reduction: Eliminating any remaining background noise or hum.
- Equalization (EQ): Adjusting the frequencies of the audio to create a balanced and pleasing sound.
- Compression: Reducing the dynamic range (the difference between the loudest and quietest parts of the audio) to create a more consistent volume level.
- Limiting: Preventing the audio from exceeding a certain volume level, avoiding distortion.
These steps are typically performed using Digital Audio Workstations (DAWs) like Adobe Audition, Audacity, or Pro Tools. While basic editing can be done with free software, professional-grade DAWs offer more advanced features and control.
Key Insight: Don’t underestimate the power of post-production. Even recordings made in well-treated studios can benefit from a skilled audio engineer who can fine-tune the sound and ensure it meets professional standards.
The Remote Revolution: Podcasting from Anywhere
Remote podcasting has exploded in popularity, offering unparalleled flexibility and convenience. However, recording from diverse locations presents unique challenges to sound quality.
The Challenges of Remote Recording
Unlike a controlled studio environment, remote locations are often plagued by:
- Unpredictable Noise: Street traffic, barking dogs, household appliances, and other ambient sounds can easily disrupt recordings.
- Poor Acoustics: Untreated rooms often have excessive reverberation and echoes, making the audio sound muddy and unprofessional.
- Variable Equipment: Participants may use different microphones and recording setups, leading to inconsistent sound quality across the podcast.
Remote Recording Hacks: Minimizing Noise and Maximizing Clarity
Despite these challenges, it’s possible to achieve excellent audio quality in remote settings with the right strategies.
Choosing the Right Location
Select the quietest possible room. Closets, walk-in wardrobes, or rooms filled with soft furnishings (carpets, curtains, blankets) tend to have better acoustics than empty rooms with hard surfaces.
DIY Acoustic Treatment
While you may not have access to professional acoustic panels, you can improvise with readily available materials:
- Blankets and Towels: Hang blankets or towels on walls and windows to absorb sound.
- Pillows and Cushions: Place pillows and cushions around the microphone to reduce reflections.
- Mattress Toppers: Stand a mattress topper behind the microphone to create a makeshift vocal booth.
Personal Anecdote: Early in my podcasting career, I had to record an interview from a hotel room with terrible acoustics. I draped a thick blanket over the headboard and used pillows to create a small “fort” around the microphone. The resulting audio was surprisingly good, proving that even basic DIY treatment can make a significant difference.
Microphone Recommendations for Remote Podcasting
Consider these microphone options for remote recording:
- USB Microphones: Convenient and easy to use, USB microphones connect directly to your computer. The Blue Yeti and Rode NT-USB+ are popular choices.
- Dynamic Microphones with USB Interfaces: A dynamic microphone combined with a portable USB audio interface (like the Focusrite Scarlett Solo) offers better sound quality and control. The Shure SM58 is a classic dynamic microphone known for its durability and clarity.
- Headset Microphones: Integrated headset microphones (like those used for gaming or conference calls) provide consistent sound quality and minimize background noise, as the microphone is always positioned close to your mouth.
Headphones are Essential
Always use headphones when recording to prevent feedback and ensure you’re monitoring the audio levels properly. Closed-back headphones are ideal for blocking out external noise.
Communication is Key
Before starting the recording, communicate clearly with your guests about the importance of finding a quiet location, using headphones, and minimizing distractions.
Remote Recording Software and Platforms
Several software options are specifically designed for remote podcasting:
- Riverside.fm: Records each participant’s audio locally, ensuring high-quality recordings even with poor internet connections.
- SquadCast: Similar to Riverside.fm, SquadCast offers local recording and advanced features for managing remote interviews.
- Zoom/Skype (with limitations): While Zoom and Skype can be used for recording podcasts, they typically compress the audio, resulting in lower quality. If using these platforms, ensure you are recording each participant’s audio separately whenever possible.
Key Insight: Local recording is a game-changer for remote podcasting. By recording each participant’s audio directly on their computer, you avoid the quality degradation caused by internet compression and bandwidth limitations.
Software Solutions for Noise Reduction and Enhancement
Even with the best preparation, some background noise may inevitably creep into your remote recordings. Fortunately, several software solutions can help mitigate these issues:
- Adobe Audition: Offers powerful noise reduction and audio restoration tools. Its “Adaptive Noise Reduction” feature is particularly effective at removing background hum and hiss.
- Descript: A transcription-based audio and video editor that includes a robust “Studio Sound” feature. This tool uses AI to automatically improve the clarity and richness of your audio.
- Auphonic: A web-based service that automatically levels, normalizes, and enhances audio. It’s a great option for podcasters who want a quick and easy way to improve the sound of their recordings.
- Krisp: An AI-powered noise cancellation app that works in real-time. It can remove background noise from both your microphone and your guests’ microphones, even during live recordings.
Practical Application: A common challenge I see is dealing with inconsistent audio levels across different segments of a podcast. Auphonic is a fantastic tool for automatically leveling the audio and ensuring a consistent listening experience. It’s a simple, yet powerful, solution for improving the overall quality of your podcast.
In-Person vs. Remote: A Comparative Analysis
Here’s a table summarizing the key differences between in-person and remote podcasting in terms of sound quality:
Feature
In-Person Studio
Remote Recording
Acoustic Environment
Controlled, optimized for sound quality
Uncontrolled, prone to noise and reverberation
Equipment
High-quality microphones, preamps, and recording equipment
Variable, often dependent on participant’s equipment
Sound Quality Potential
Excellent, consistently high quality
Variable, requires careful planning and execution
Cost
Higher (studio rental, equipment)
Lower (primarily software and microphone costs)
Flexibility
Less flexible, requires scheduling and travel
Highly flexible, can record from anywhere
Ultimately, the best approach depends on your budget, resources, and desired level of sound quality. In-person studios offer the highest potential for pristine audio, but remote recording can be a viable option with careful planning and the right equipment and software.
Case Study: A Hybrid Approach
Many podcasters are adopting a hybrid approach, combining in-person and remote recording techniques. For example, they might record in a studio with local guests but interview remote participants via platforms like Riverside.fm or SquadCast.
Example: One of my clients runs a weekly podcast featuring industry experts from around the world. They have a small in-house studio for recording with local guests, but they also regularly interview remote participants. To ensure consistent sound quality, they provide remote guests with a recommended list of USB microphones and headphones. They also use Riverside.fm to record each participant’s audio locally and then edit the tracks together in Adobe Audition. This hybrid approach allows them to maintain a professional sound while still being able to interview guests from anywhere in the world.
Actionable Takeaways for Podcasters
Here’s a distilled list of actionable takeaways to elevate your podcast’s sound quality, whether you’re in a studio or recording remotely:
- Invest in a Good Microphone: A quality microphone is the single most important factor in achieving excellent sound.
- Prioritize Acoustic Treatment: Even basic DIY acoustic treatment can significantly improve the sound of your recordings.
- Use Headphones: Headphones are essential for monitoring audio levels and preventing feedback.
- Communicate Effectively with Guests: Ensure your guests understand the importance of finding a quiet location and using headphones.
- Record Locally Whenever Possible: Local recording platforms like Riverside.fm and SquadCast can dramatically improve the quality of remote recordings.
- Master Post-Production Techniques: Learn how to use noise reduction, equalization, and compression to polish your audio.
- Consider a Hybrid Approach: Combine in-person and remote recording techniques to maximize flexibility and sound quality.
- Regularly Test and Evaluate: Conduct regular sound checks and listen critically to your recordings to identify areas for improvement.
Key Insight: Continuous improvement is key. Don’t be afraid to experiment with different techniques and tools to find what works best for your podcast.
Conclusion: The Quest for Sonic Excellence
Achieving great sound quality in podcasting requires a combination of technical knowledge, careful planning, and a willingness to experiment. Whether you choose to record in a professional studio or embrace the flexibility of remote recording, the principles remain the same: minimize noise, maximize clarity, and prioritize the listener experience. By investing in the right equipment, mastering essential post-production techniques, and continuously striving for improvement, you can create a podcast that sounds as good as it is informative and engaging.
Ultimately, your commitment to audio quality will translate into a more professional and enjoyable listening experience, helping you build a loyal audience and achieve your podcasting goals.
This article was optimized and published by Content Hurricane.
Ready to build the real thing?
When you're ready for a done-for-you studio, book a discovery call and we'll map a build that fits your space.