DIY Home Studio: Pro Video on a Budget!
Create stunning videos at home! Affordable tips & tricks for any budget. Elevate your video production now!
Why a Home Studio is Your Secret Weapon: Authority, Confidence, and Control
In today’s digital landscape, video is king. Whether you’re a seasoned entrepreneur, a budding educator, or simply someone looking to share their expertise, creating high-quality video content is essential. And the key to unlocking your video potential? A well-equipped home studio.
Beyond just aesthetics, a dedicated home studio empowers you to take control of your brand narrative, build authority within your niche, and boost your confidence in front of the camera. No more scrambling for quiet spaces, battling unpredictable lighting, or relying on borrowed equipment. A home studio is your sanctuary for creation, allowing you to focus on what matters most: delivering valuable content to your audience.
Think about it: consistency builds trust. When your videos consistently have good audio and visual quality, viewers are more likely to perceive you as professional and credible. This credibility translates into authority. Moreover, knowing you have a reliable, professional setup at your fingertips drastically reduces pre-recording anxiety. This, in turn, fast tracks confidence and allows you to present yourself more effectively on screen.
Consider the experience of Marie Forleo, a successful online entrepreneur. Her early videos, while valuable, were often filmed in less-than-ideal settings. As she invested in a professional home studio, her brand image and perceived authority skyrocketed, directly impacting her business growth. This demonstrates how a dedicated space and equipment can elevate not only your video production but also your entire professional image.
Breaking Down the Barriers: Home Studio on a Budget
The misconception that a professional home studio requires a massive investment often prevents individuals from taking the plunge. The truth is, you can create a highly effective setup without emptying your bank account. Let’s explore budget-friendly options and DIY solutions for various essential components.
Lighting: Illuminating Your Path to Professionalism
Good lighting is paramount for video quality. Here’s how to achieve it without breaking the bank:
- Natural Light: Position yourself facing a window for soft, flattering light. Diffuse harsh sunlight with a sheer curtain. (Caution: avoid direct sunlight which can cause harsh shadows and squinting)
- Softbox Alternatives: Instead of expensive softboxes, consider using clamp lights with diffusion socks or parchment paper. You can find clamp lights at most hardware stores for around $10-$20 each.
- Ring Lights: A popular and affordable option, especially for close-up shots. Prices range from $20-$100 depending on size and features. Ensure the ring light is dimmable to avoid harshness.
- DIY Lighting: Get creative! Reflect light with white foam boards or even large sheets of white paper. Experiment with different angles to find the most flattering setup.
Actionable Tip: Start with one key light source and experiment with positioning. Observe how the light falls on your face and adjust accordingly. A simple three-point lighting setup (key light, fill light, and backlight) can be achieved even on a tight budget using the options mentioned above.
Resources like the U.S. Government’s website offer general information on energy-efficient lighting, helping you choose options that are both effective and cost-conscious.
Audio: Capturing Clear and Crisp Sound
Poor audio is a major distraction for viewers. Don’t let subpar sound ruin your hard work.
- USB Microphone: A USB microphone is a significant upgrade over your built-in computer microphone. Brands like Blue Yeti and Audio-Technica offer excellent options in the $100-$200 range.
- Lavalier Microphone: For a more discreet option, consider a lavalier (lapel) microphone. These clip onto your clothing and provide clear audio while keeping your hands free. Affordable options are available for under $50.
- Acoustic Treatment: Improve your room’s acoustics to reduce echo and reverb. This doesn’t require expensive panels. Consider using blankets, pillows, or even egg cartons to absorb sound.
- DIY Soundproofing: Hang heavy curtains or blankets on walls to dampen sound. Place rugs on hard floors to minimize reflections.
Actionable Tip: Always test your audio before recording. Listen carefully for background noise and adjust your microphone settings accordingly. Invest in a pop filter to reduce plosives (harsh “p” and “b” sounds).
Video: Cameras and Capture
- Webcam: A high-definition webcam is a great starting point. Look for models with 1080p resolution and decent low-light performance. Logitech and Razer offer reputable options in the $50-$150 range.
- Smartphone Camera: Modern smartphones boast impressive camera capabilities. Use a tripod and external microphone to maximize image and audio quality.
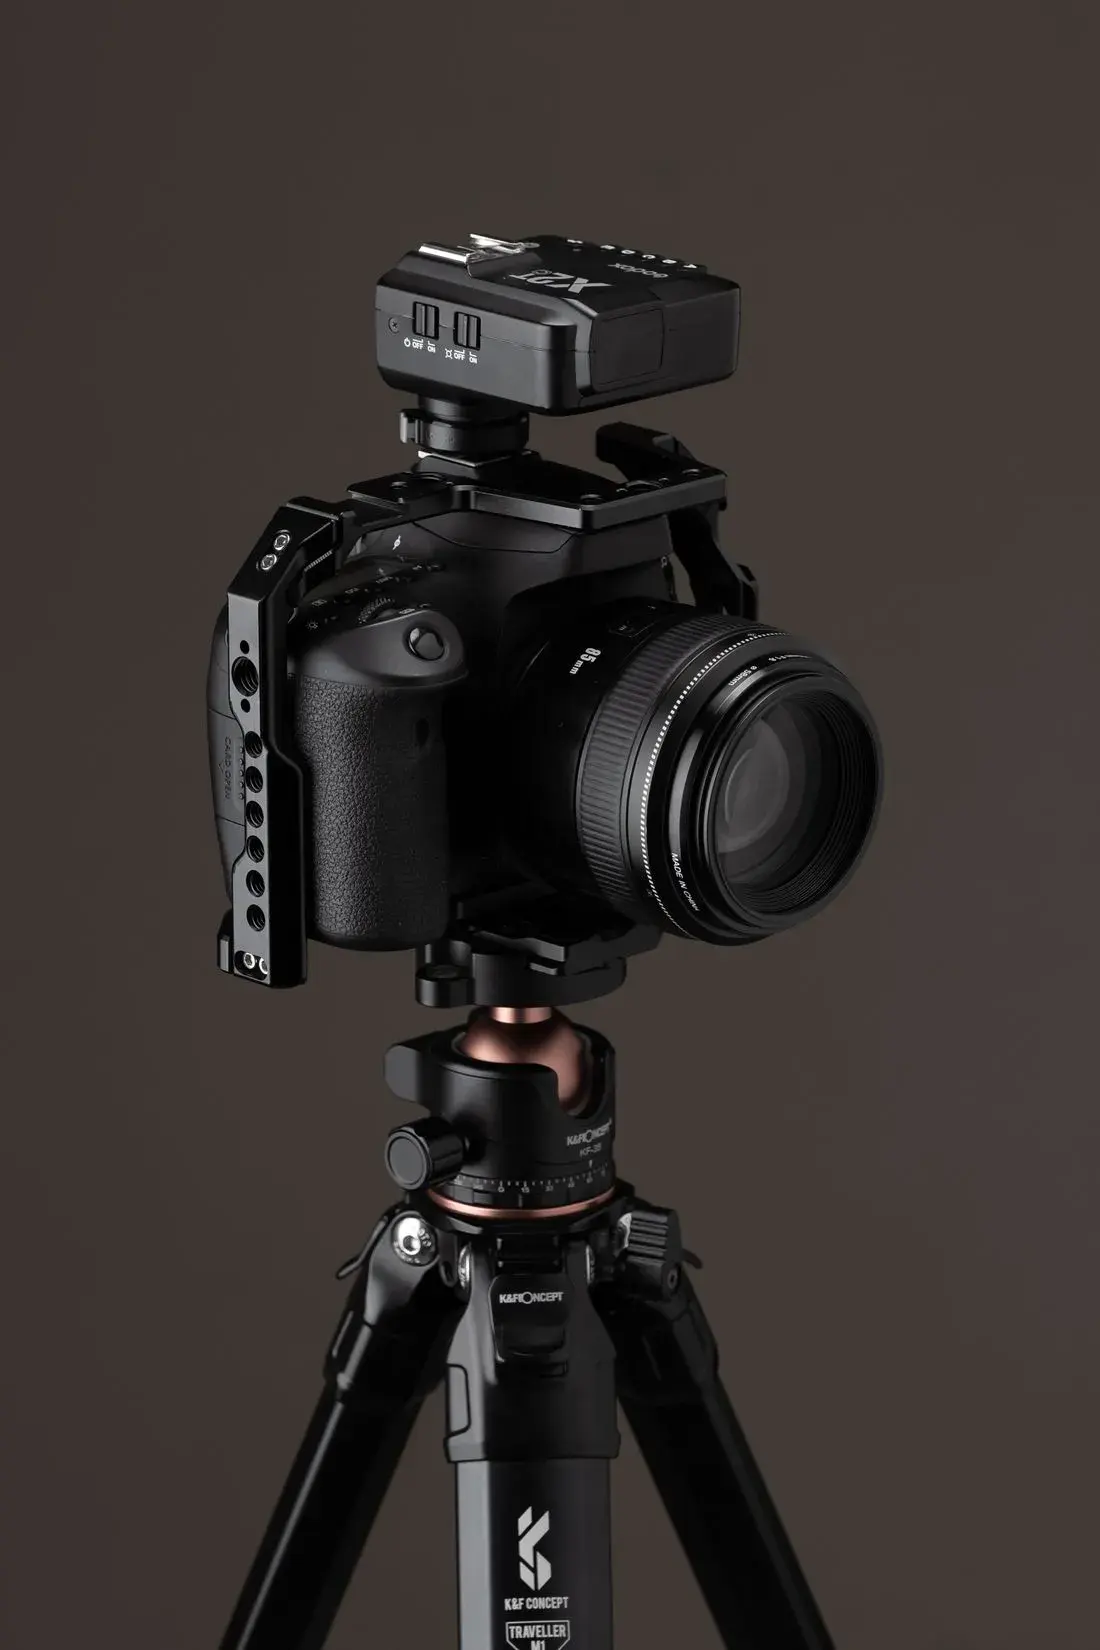
- Used DSLR/Mirrorless Cameras: Consider purchasing a used DSLR or mirrorless camera. Older models can provide excellent image quality at a fraction of the price of newer ones. Check reputable marketplaces like eBay or KEH Camera.
Actionable Tip: Experiment with different camera angles and framing. Ensure your camera is positioned at eye level to create a more engaging connection with your audience. Remember the rule of thirds in composition for a more visually appealing frame.
Background: Creating a Professional Backdrop
- Clean and Minimalist: A simple, uncluttered background is often the most effective. A plain wall or bookshelf can work well.
- Fabric Backdrop: A solid-colored fabric backdrop is an affordable and versatile option. Choose a color that complements your brand and avoids distracting patterns.
- Pop-Up Background: A pop-up background is a convenient and portable option. It’s easy to set up and take down, making it ideal for small spaces.
- Green Screen: If you want to add dynamic backgrounds or special effects, consider a green screen. Green screens can be purchased for around $50-$150, and software like OBS Studio allows for easy background removal.
Actionable Tip: Pay attention to the details in your background. Remove any distracting objects and ensure the space is clean and organized. Consider adding a few personal touches that reflect your brand or personality.
Tailoring Your Studio to Your Video Style
The ideal home studio setup depends on the type of videos you plan to create. Here’s how to tailor your setup to specific needs:
Webinars and Online Courses
For webinars and online courses, clear audio and a professional-looking background are essential. Invest in a good USB microphone and a clean, minimalist backdrop. Consider using screen recording software like OBS Studio (free and open-source) to capture your presentations.
Example: If you’re teaching a coding course, ensure your screen recordings are clear and easy to follow. Use a high-resolution monitor and screen recording software that allows you to zoom in on specific code snippets.
Tutorials and Demonstrations
For tutorials and demonstrations, you’ll need a camera setup that can capture close-up shots of your hands or products. A flexible arm mount for your camera can be helpful. Good lighting is also crucial to ensure viewers can see the details clearly.
Example: If you’re demonstrating makeup techniques, use a ring light to provide even lighting and a high-resolution webcam or smartphone camera to capture the details of your work.
Interviews
For interviews, you’ll need a setup that can accommodate both you and your guest. Consider using two microphones (either USB or lavalier) and arranging your lighting to flatter both subjects. Pay attention to the background and ensure it’s professional and distraction-free.
Example: If you’re interviewing a guest remotely, use video conferencing software like Zoom or Skype. Ensure both you and your guest have good lighting and audio. Send your guest a pre-interview checklist with tips on how to optimize their setup.
Software and Editing: Polishing Your Content
Video editing software is essential for adding polish and professionalism to your videos. Fortunately, there are many affordable and even free options available.
- DaVinci Resolve (Free): A professional-grade video editing software that’s free to use. It offers a wide range of features, including color correction, audio editing, and visual effects.
- OBS Studio (Free): Primarily used for streaming, OBS Studio also offers powerful screen recording and video editing capabilities.
- iMovie (Free – macOS): A user-friendly video editing software that comes pre-installed on macOS devices.
- CapCut (Free – Mobile and Desktop): A very user-friendly and surprisingly powerful free tool available on both mobile and desktop. A great option for simple edits, adding music, and creating engaging social media content.
Actionable Tip: Start with the basics of video editing: trimming, cutting, and adding transitions. As you become more comfortable, explore more advanced features like color correction, audio editing, and visual effects. YouTube is a great resource for learning video editing techniques.
Many universities, such as MIT OpenCourseWare, offer free online courses and tutorials on video production and editing, providing valuable knowledge and skills.
Beyond the Basics: Leveling Up Your Home Studio
Once you’ve established a basic home studio setup, you can gradually level up your equipment and capabilities as your budget allows. Here are some ideas:
- Upgraded Camera: Invest in a higher-quality DSLR or mirrorless camera for improved image quality and versatility.
- Professional Lighting Kit: Upgrade your lighting setup with professional-grade softboxes, LED panels, or Fresnel lights.
- Dedicated Audio Interface: An audio interface allows you to connect professional microphones and instruments to your computer, providing better audio quality and control.
- Acoustic Treatment: Invest in professional acoustic panels to improve your room’s acoustics and reduce echo and reverb.
- Teleprompter: A teleprompter allows you to read your script while looking directly at the camera, creating a more natural and engaging presentation.
Remember: Building a professional home studio is a journey, not a destination. Start with the basics and gradually upgrade your equipment as your needs and budget evolve. The most important thing is to start creating and sharing your content with the world.
Consider joining online communities and forums dedicated to video production. Sharing experiences and learning from others can accelerate your growth and provide valuable insights.
Ready to build the real thing?
When you're ready for a done-for-you studio, book a discovery call and we'll map a build that fits your space.